In recent years, Dolby Atmos seems to have taken the audiophile and home theater world by storm. I’d imagine that those who follow new developments in the home audio space are used to seeing the term plastered on everything from headphones to soundbars and even high-end preamp/processor units, but I’m not sure a complete understanding of what the technology actually is exists within the public consciousness.
Dolby Atmos: The Story So Far
First introduced in theaters back in 2012 with the release of Pixar’s acclaimed animated film Brave, Dolby Atmos is an object-based surround sound system that utilizes both rear and height speakers for an immersive three dimensional bubble around the listener. By giving mixers the ability to assign specific sounds to “objects,” the system is able to accurately reproduce a single mix across a multitude of differently sized multi-speaker arrays ranging from your typical 5.1 surround all the way to 9.1.6 (9 speakers at ear level, 6 in the ceiling, and one subwoofer).

For those who have neither the budget nor the inclination to construct a home theater with a multichannel speaker system, Dolby Atmos also has the ability to render a binaural approximation of the multi-speaker mix for consumption over headphones. Though the process certainly has its critics – many of which are the engineers and content creators in the professional sphere – it does offer a tantalizing glimpse of the true multichannel experience.
Though the system was originally designed for post-production and film sound, it quickly captured the attention of the music industry as well. For the longtime surround music fans who saw quadraphonic vinyl and 5.1 surround optical formats like Super Audio CD or DVD-Audio fade away with minimal public interest, perhaps the greatest allure of Dolby Atmos is the ability to stream the format (either over headphones or through a multichannel speaker system) using services such as Apple Music and Tidal. Since mid-2020, thousands of songs – both classic and modern – have been remixed in the format.
Dolby Atmos File Types
Much like 5.1 surround, there are a number of different codecs and file containers used to deliver Dolby Atmos content to consumers.
On the studio side, finished Atmos mixes are exported to a proprietary format called ADM BWF. A single ADM file can take up multiple gigabytes, depending on how many unique beds and objects the mixer has used. These files are not yet suitable for home theater playback and must be converted to another format.
The most commonly used format for consumer delivery is Dolby Digital Plus (E-AC3) with Joint Object Coding, which contains a 5.1 bed plus object-oriented metadata at a bitrate of 768 kbps. This format is used for the Atmos content on Apple Music and Tidal, though it can also be embedded in an MP4 video file for direct playback through most Blu-Ray players as well as software media players like VLC or Kodi. The main advantage of these files is that they’re quite small – averaging around 20-30 megabytes without video – but the overall sound quality is affected in a negative way, particularly in the rear and height channels.
The more compelling format for audiophiles in Dolby TrueHD (MLP), which can hold a 7.1 bed plus object-oriented metadata with a significantly-higher bitrate of 6000 mbps. This format is used for Atmos content on Blu-Ray disc, though it can also be embedded in an MKV video file for direct playback through some Blu-Ray players as well as via media player softwares like VLC or Kodi. These files average around ten times larger than an MP4 with E-AC3, offering listeners the full fidelity of Blu-Ray without the disc itself.
How To Play Your MP4 & MKV Files
Though I imagine there are a number of media player software packages that support the MKV format, the simplest method I could identify for playing back the files sold through IAA’s shop would have to be using HDMI pass-through with VLC Media Player.
VLC Media Player is a free ‘swiss army knife’ media player, offering support for PCM formats like FLAC and WAV in stereo/multichannel as well as the various flavors of Dolby Digital and DTS. I’ll outline the setup process for Windows devices.
1. Plug your PC into one of your AVR’s HDMI inputs
2. Navigate to the “sound settings” menu
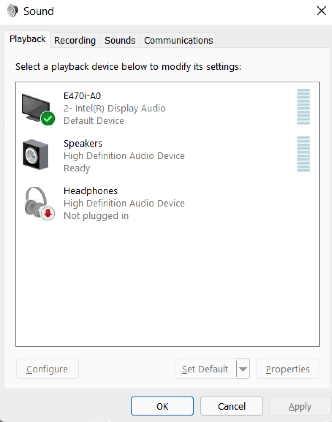
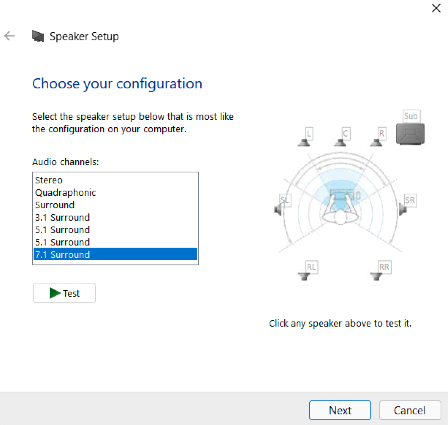
3. Choose HDMI as your main output device and follow the setup instructions
4. Install VLC Media Player
5. Configure VLC for HDMI pass-through
- Go to "Tools" on the top-left toolbar and select "Preferences: from the drop-down menu.
- Click the "Audio" icon and enable HDMI/SPDIF audio passthrough.