
Are you part of the ever-growing community of Linux users? Tired of or annoyed by Windows? Got an old PC that you want to revive as a media player? Linux is a full-fledged, stable operating system that doesn’t cost you a cent. Plus, it comes in tons of flavors (“distros“) for all kinds of tastes and hardware.
It also works great for playing back multi-channel music in any format, e.g., .flac, .wav, .ogg, .mka, .dts, .ac3 and many more in up to 7.1 channels. How, you ask? Well, you came to the right place.
This guide is based on my experience with Ubuntu and Linux Mint from 2009 until today. I’ve done this with Nvidia graphics cards and a variety of multi-channel AVRs by Denon, Yamaha, JVC and other brands.
Hooking Up Your Hardware
Really, all you need is two HDMI cables, your PC and your home theater system. The two-step process is listed below:
- Run an HDMI cable from your PC’s graphics card to your AVR
- The second HDMI cable connects your AVR to your screen
Just like Windows, Linux will detect the connected screen as it would any other screen without an AVR in between. Only thing is, to my knowledge, your resolution is limited to what the AVR handles. So if your screen is 4K but your AVR only handles Full HD, you’ll be limited to Full HD (1080p) and below.
Ideally, your AVR should support video pass-through when it’s in standby mode. That way, you can use your PC with the screen even when the AVR isn’t on.
Alternatively, get an HDMI switch, plug that into your graphics card and hook two HDMI cables up to it. One goes straight to your screen and one goes to your AVR. If your screen only has one HDMI input, use an HDMI to VGA, DVI or DP adapter cable. Now, you can switch back and forth whenever you want to use your PC with or without the AVR being on.
Configuring Linux Mint
I switched from Ubuntu to Linux Mint around 2018, so these instructions are for that distro. They should be very similar in other distros.
In Linux Mint, open the sound settings panel (pictured below):
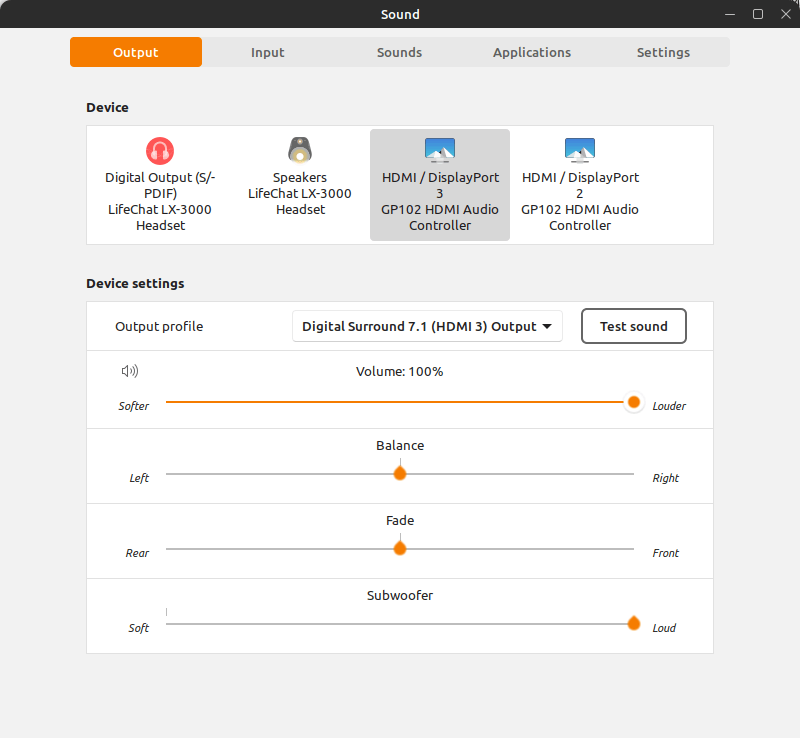
As you can see, my PC has a few playback devices connected. I have my Denon AVR-X1400H 7.2 AVR plugged into HDMI / DisplayPort 3, a computer monitor with internal speakers plugged into HDMI / DisplayPort 2, and an USB headset which accounts for the other 2 devices.
So, just pick your device, then set the desired audio profile (e.g., Stereo, 5.1 or 7.1) and your receiver should automatically recognize the incoming signal accordingly.
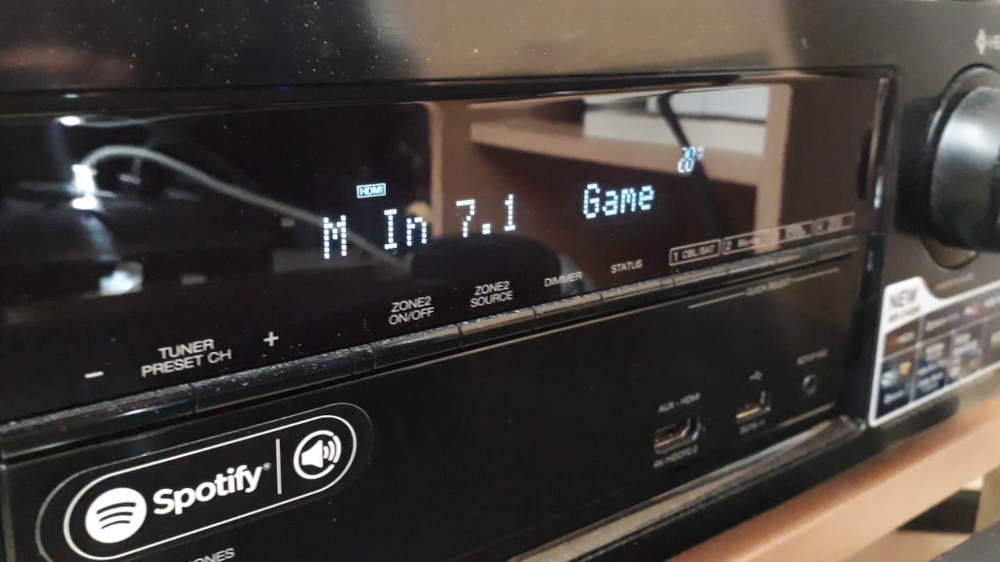
I tested this with various AVRs that I used to own or still do, plus AVRs at family members’ and friends’ places. They never had any problems with this.
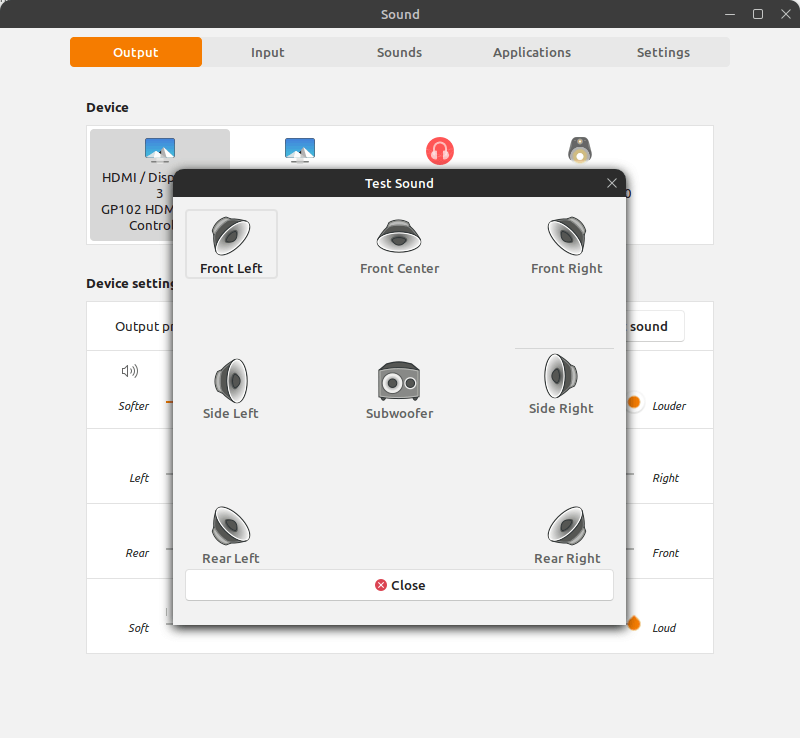
Click the “Test sound“ button to play back test audio through every speaker.
Fine-Tuning Audio On Linux
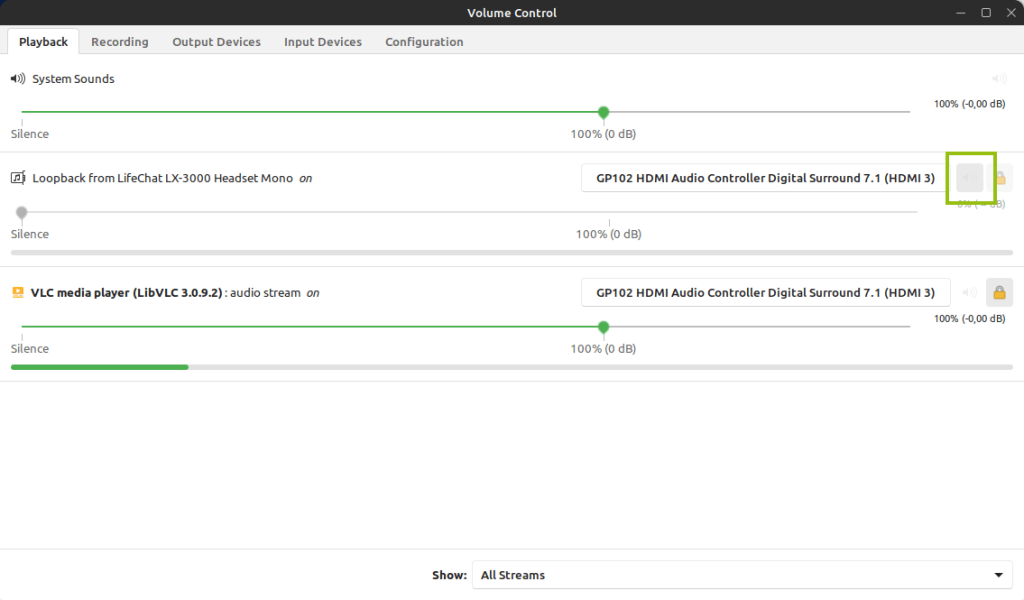
PulseAudio Volume Control (package name: pavucontrol) is an amazing piece of software, the likes of which are sorely missing from other operating systems, certainly Windows. With it, you can exert fine-grained control over every last aspect of your audio playback. This GIF should say it all:

Pavucontrol is an indispensable asset on any Linux install, if you ask me.
Enable/Disable Upmixing
By default, PulseAudio, the default audio system in many distros including Mint, upmixes streams to the number of channels you have set in your sound settings. So for instance, if your sound profile is 7.1 and you’re playing back a song in stereo, then the audio signal will be upmixed to come from all channels.
Some people enjoy this kind of effect, others want to hear the audio way it was mixed, e.g., in 4.0 or 5.1 without the other channels also playing processed audio.
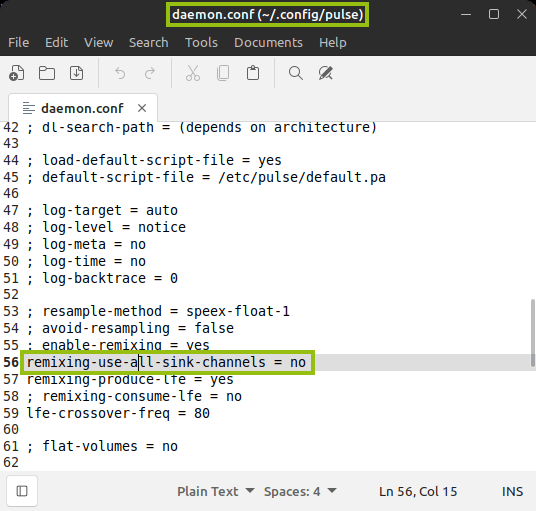
To achieve this, you’ll need to disable PulseAudio’s „remixing-use-all-sink-channels“ feature. Steps listed below:
- In a terminal, type cp /etc/pulse/daemon.conf ~/.config/pulse to copy that PulseAudio config file to your personal home directory, from where it’ll be loaded when you reboot your system or just restart PulseAudio.
- Open that file (~/.config/pulse/daemon.conf) in your favorite text editor. In Mint, the default is Xed.
- Un-comment the line remixing-use-all-sink-channels by removing the „;“ at the beginning.
- Set the line’s value from „yes“ to „no“, then save and reboot your PC.
Read the pulseaudio-daemon.conf manpage for more info on the other options in that file. The options remixing-produce-lfe and lfe-crossover-freq are quite interesting as well. Another interesting file for tweaking how PulseAudio behaves is default.pa.
Experiencing Drop-Outs or Clipped Audio?
Sometimes, the beginnings of songs might get clipped, or there might be dropouts during playback. I found the following fix for this:
- In a terminal, type cp /etc/pulse/default.pa ~/.config/pulse to copy that PulseAudio config file to your personal home directory, from where it’ll be loaded when you reboot your system or just restart PulseAudio.
- Open that file (~/.config/pulse/default.pa) in your favourite text editor. In Mint, the default is Xed.
- Comment out the line "load-module module-suspend-on-idle" by adding a „#“ at the beginning.
- Save, reboot.
If you’re still experiencing dropouts, you can load PulseAudio’s loopback module at the end of the same default.pa, by adding the line “load-module module-loopback.”
This will ensure sound streams stay alive even when no audio is playing for a moment. But be careful! This will loopback audio devices, which might cause feedback noises. Be sure to mute the loopbacks in Pavucontrol.
Caveats
- No Dolby Atmos support thus far. 7.1 is the max.
- To my knowledge, at present, there’s no way to play Atmos content on Linux. 7.1 channel audio is the most you’ll get.
- No gapless multi-channel playback
- VLC Media Player doesn’t support gapless playback for multi-channel files. I couldn’t find any other playback software that does, either, though most (e.g. Audacious) have no trouble with gapless stereo playback. So be sure your Dark Side of the Moon is one single FLAC file. Otherwise, you’re in for millisecond breaks between songs that were meant to flow into each other.
- May not work without a graphics card. I’ve had Nvidia graphics cards in my desktop and laptop PCs for much longer than I’ve had multi-channel systems, so I can’t tell you if this works with just a normal onboard graphics card’s HDMI. If you have any experiences with that, please comment below. Of course, you can always use your analogue multi-channel connectors if your PC has them and if your AVR has multi-channel inputs.
Conclusion
Really, Linux’s multi-channel capabilities have matured a lot over the years, and have certainly been making strides since I started using Linux back in early 2009. These days, all you really need is an HDMI cable to connect your graphics card to your AVR, and another one that goes from your AVR to your screen or TV.
From there, select your output profile (stereo, 5.1, or 7.1) in your distro’s sound settings, install VLC and you’re off to the races!